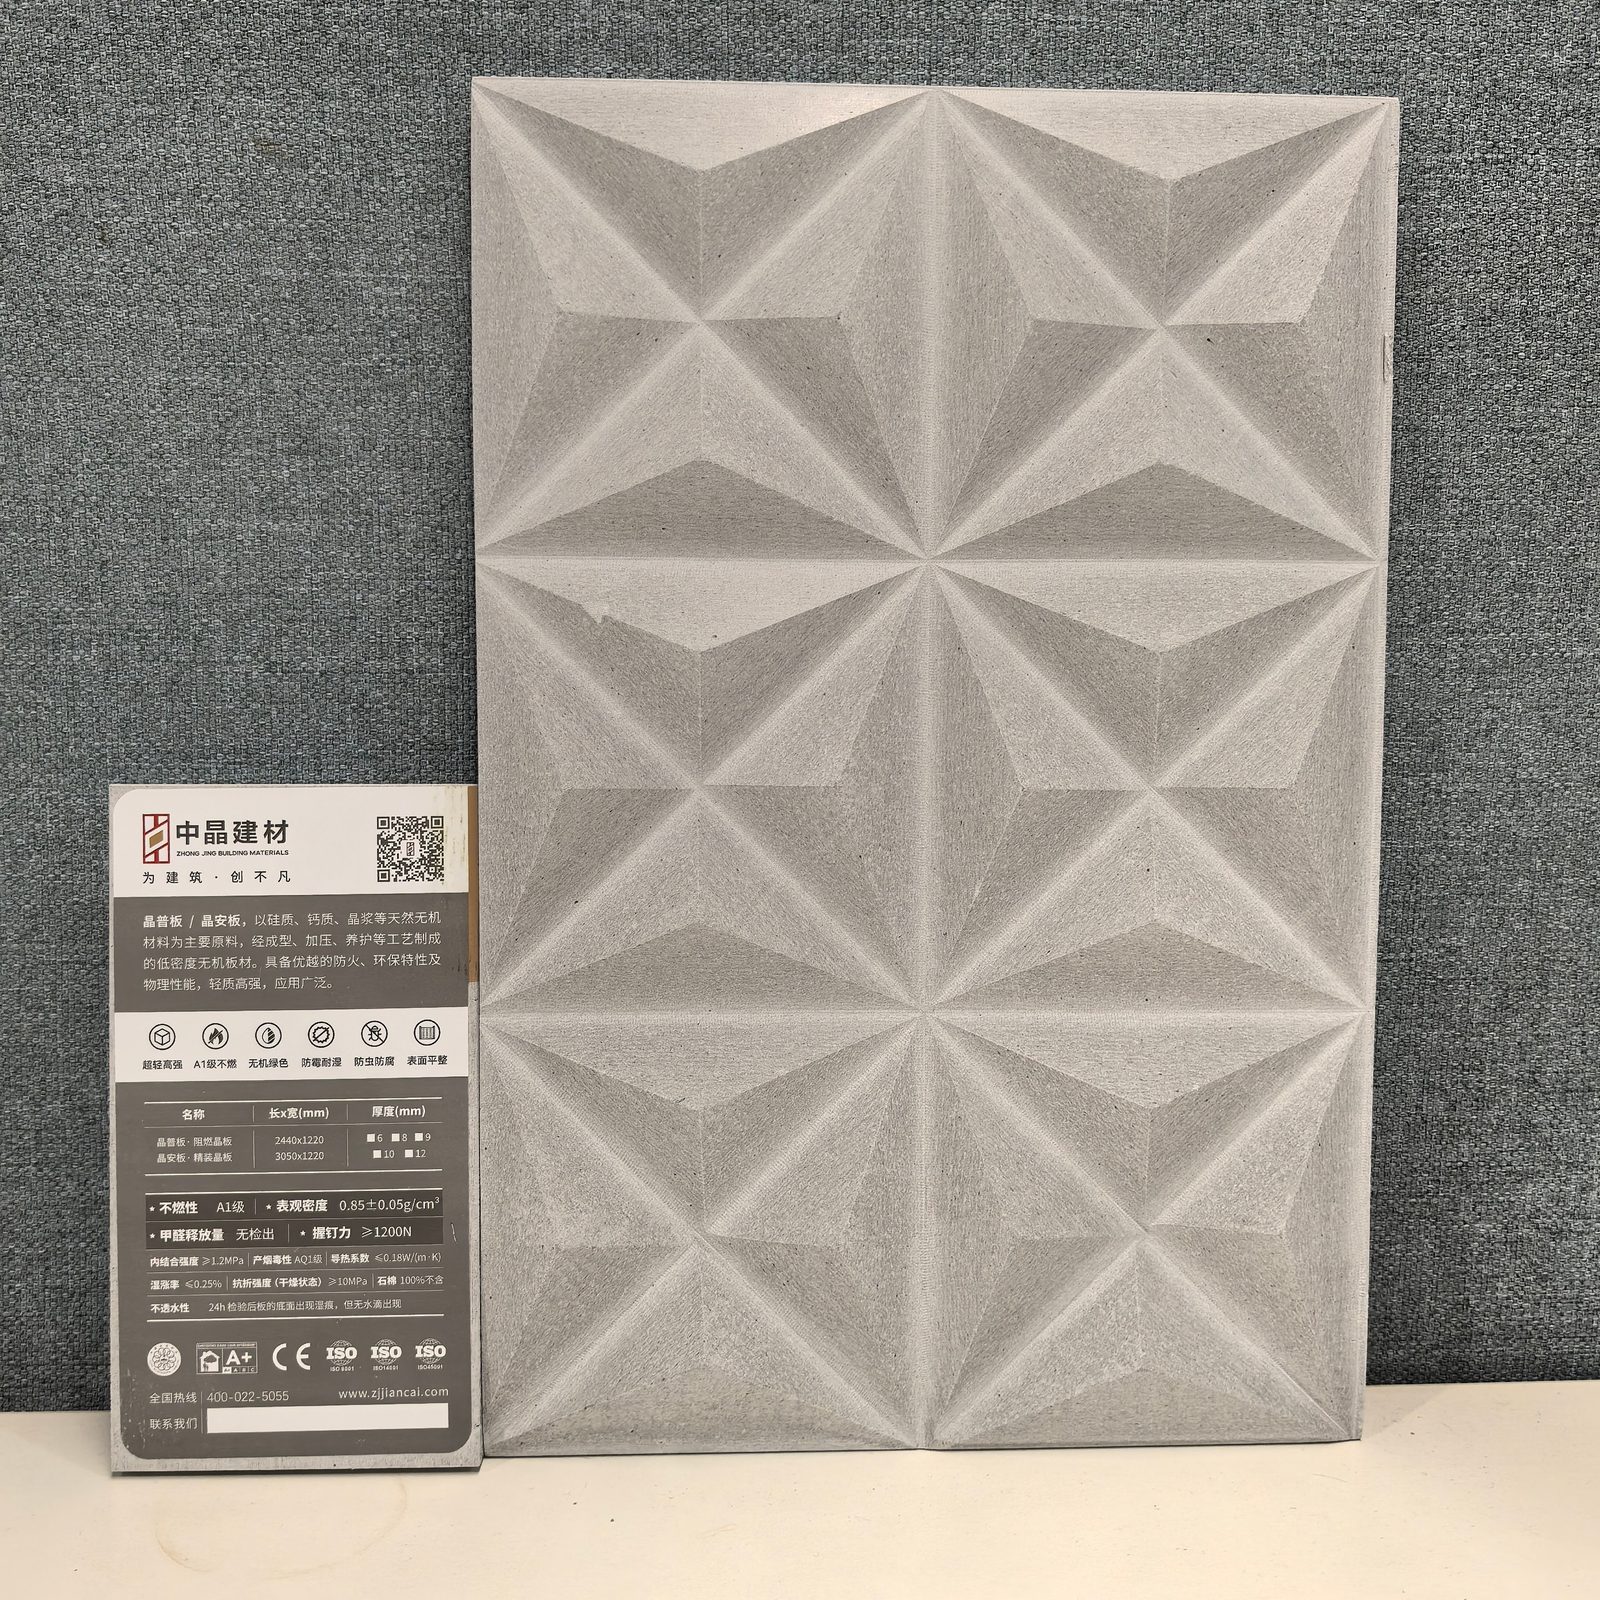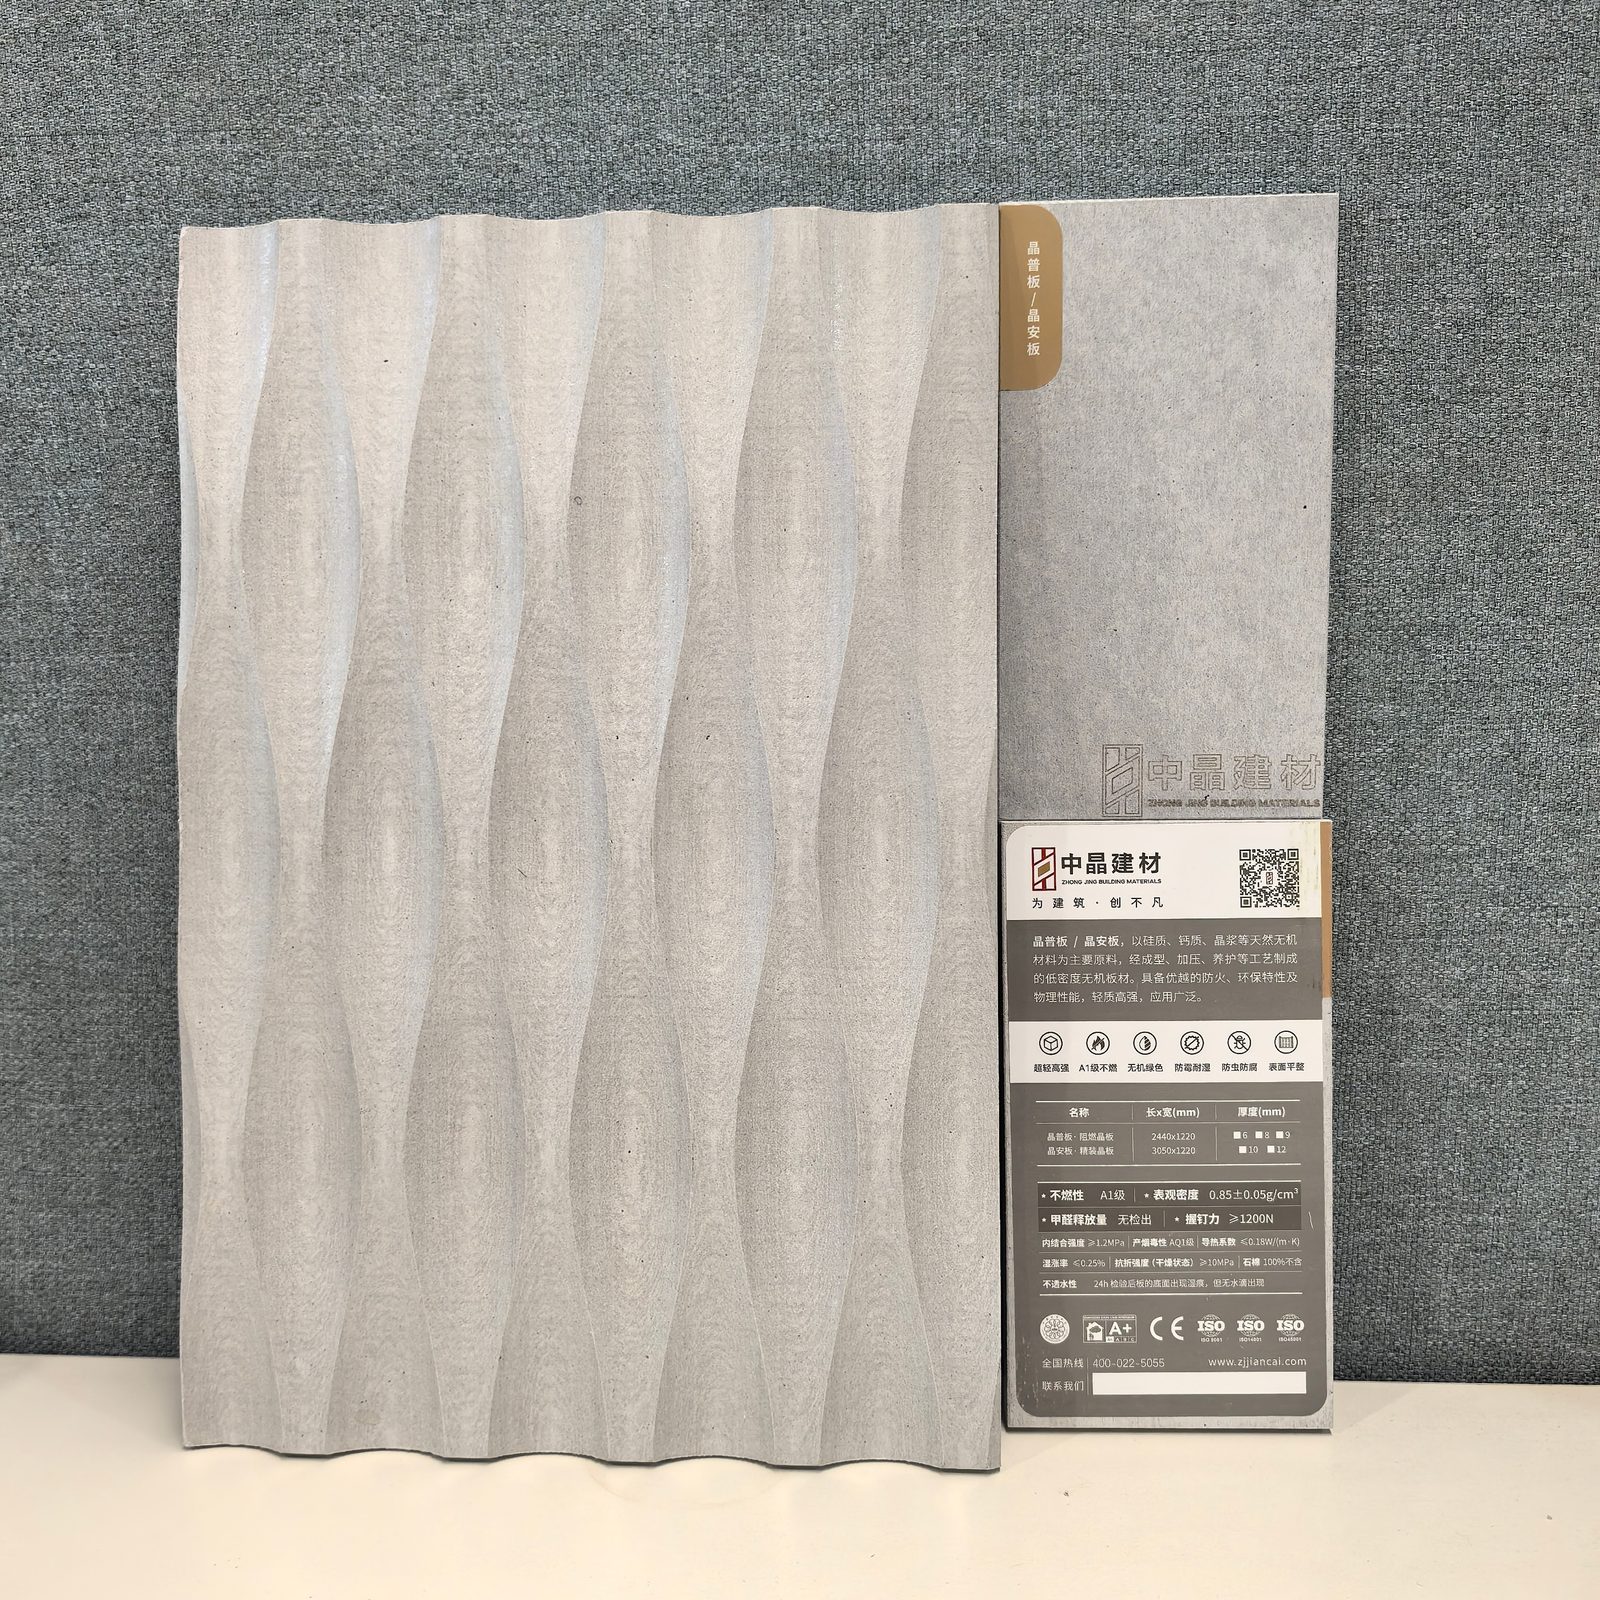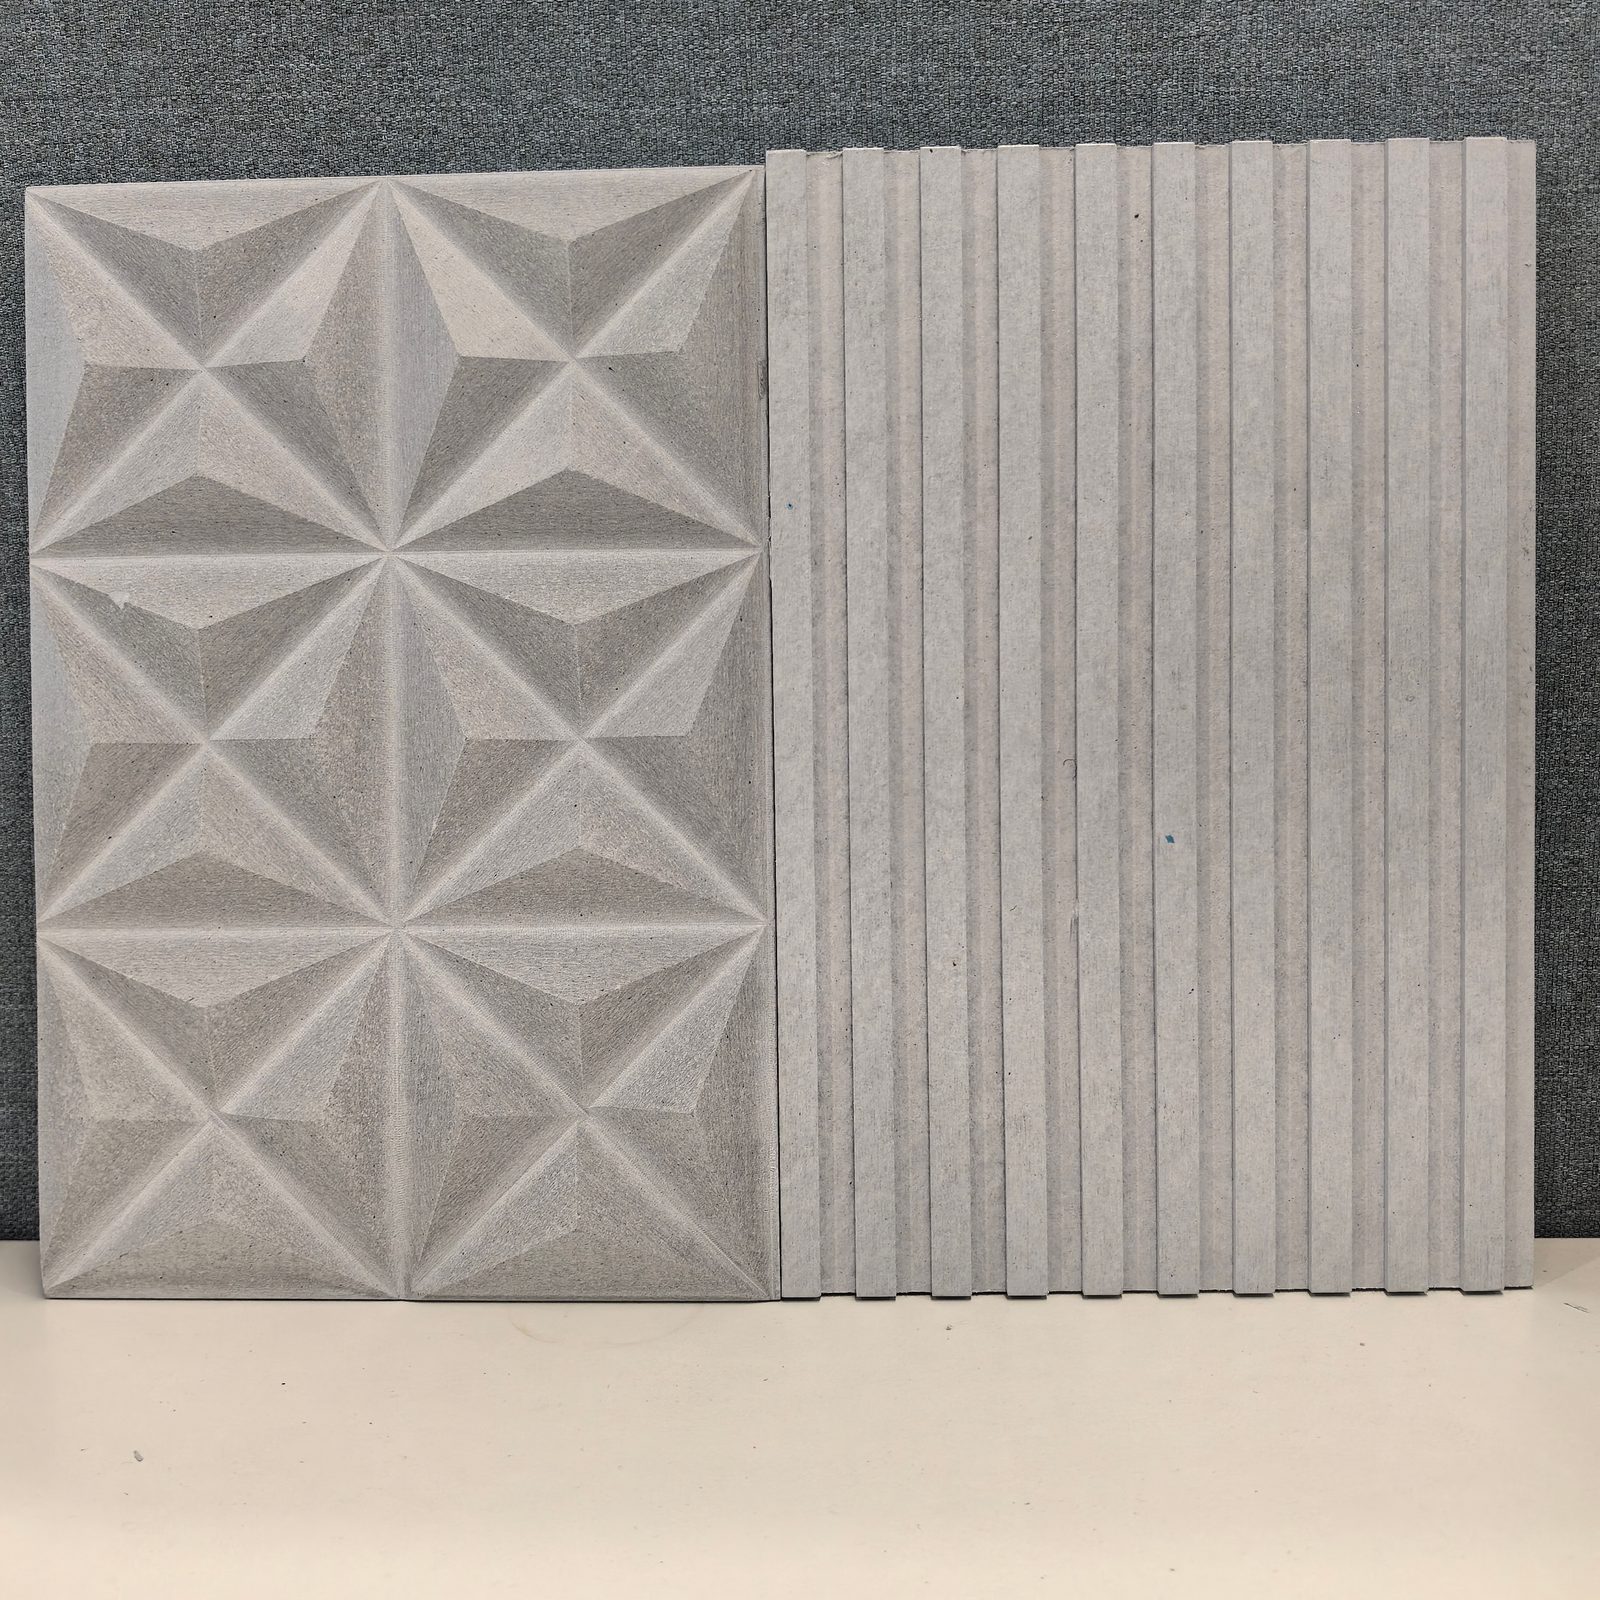
Fiber cement board is not timber and it is not plasterboard. The habits people bring from both are exactly what ruin a panel: forcing a blunt blade through it, and trying to trim it after it is fixed. The board is dense, mineral and slightly brittle. Cut it at the right speed with the right tool and the edge is clean enough to finish straight away — one reason a fiber cement board wall can be closed without a skim coat.
This guide follows the order of the job: method by thickness, the two straight-cut techniques, curves and service openings, dust control, edge detailing and the fixing rules that follow the cut. For the full wall sequence, see How to Install Fiber Cement Board.
Match the Method to the Thickness
Using one tool for every board is the commonest error. Thickness decides the method — and the edge you get:
| Method | Thickness | Best for | Dust |
|---|---|---|---|
| Score and snap | 4–6 mm | Straight cuts, hand tools only | Very low |
| Carbide circular saw / track saw | 6–25 mm | Straight cuts, volume work | High — extract |
| Diamond blade | 8–25 mm | Long runs, dense board | High dry, low wet |
| Carbide grit jigsaw | 6–12 mm | Curves, notches, openings | Moderate |
| Carbide grit hole saw | Any | Sockets, pipes, penetrations | Moderate |
| Angle grinder, diamond disc | Any | Last resort, awkward cuts | Very high |
A 6 mm sheet weighs about 18 kg. That is a handling advantage, not permission to cut on your knee: an unsupported panel vibrates, the blade pinches, and the crack that appears later starts there. Dense calcium silicate board cuts the same way, with a slower feed and a sharper blade.
Score and Snap: The Cleanest Thin-Board Cut
For thin board a knife beats a saw on speed, edge quality and dust — if it is done properly:
- Clamp a straight edge on the face and mark from the same reference twice. On a 1220 × 2440 mm sheet, a few millimetres of drift shows at every joint.
- Score with a fresh blade in several firm passes along one line, not a single heavy pass.
- Snap over a firm edge with the score line directly above it, in one controlled movement.
- Dress the edge with a sanding block to remove the arris and the small step the snap leaves.
The limit is around 6 mm, sometimes 8 mm with experience; above that the snap leaves a step no joint detail will hide.
Power Cutting: Blade, Speed and Support
From 6 mm upward a saw is the practical choice. Three variables decide the result:
- Blade. Carbide-tipped fiber cement blade with few large teeth (4–6 is typical), or diamond for long runs. A wood blade is destroyed within metres; a fine-tooth blade overheats instead of cutting.
- Depth and feed. Expose about 5 mm of tooth and feed steadily. Dwelling builds heat, dulls the blade and burns the edge.
- Support. Cut on a flat surface with both sides supported; any sag lets the board close on the blade.
Where the tool allows, run the saw with the finished face down so spalling lands on the concealed side. On a factory-finished decorative board or wall panel, tape the line as well.
Curves, Notches and Service Openings
Straight cuts are the easy half. Most failures happen around openings, where the panel is weakest and a ragged cut shows.
- Curves. Carbide grit jigsaw blade, orbital action off, cut from the face side.
- Corners. Drill a relief hole at each internal corner so the blade never turns a sharp corner in the material.
- Sockets and pipes. Carbide grit hole saw, cut from the face without forcing. In a partition, offset boxes between the two faces so one box does not thin both linings.
- Edge distance. Keep holes and fixings clear of the edge as the system specifies. A screw-holding figure of at least 1,200 N is no help if there is no material left around the screw.
Dust: The Part of the Job People Skip
Fiber cement board and calcium silicate board contain crystalline silica, and dry cutting produces respirable dust. That is a health hazard, not a housekeeping issue:
- Cut outside or downwind, and keep other trades clear of the area.
- Suppress at source — wet-cut diamond blade or a suitable dust extractor.
- Wear a respirator rated for respirable crystalline silica, plus eye and hearing protection.
- Clean up wet. Dry sweeping puts settled dust straight back into the air.
The best control is off site: order boards cut to size. Factory cutting arrives square and keeps dust and waste out of the building.
After the Cut: Edges, Joints and Finish
Cutting does not change what the board is: a calcium silicate board, a plain fiber cement board or a decorative board with a factory finish is inorganic through its full thickness and A1 non-combustible, so a cut edge exposes exactly the same material as the face. What changes is the detail:
- Exterior edges are sealed or coated as specified. The raw edge is the most absorbent part of the panel, and where freeze-thaw starts.
- Interior joints need backing and the specified jointing treatment, with vertical joints staggered so no line runs uninterrupted across the wall. A slight chamfer closes a butt joint cleanly.
- Finished faces take decorative finish directly — wet expansion of 0.25% or less, dry shrinkage of 0.15% or less — so no plastering is needed. A ragged cut is the one defect finish cannot correct.
- Factory-finished boards — a printed wall panel or coated board: the cut edge is the only unfinished surface on the job. Touch it up before fixing, not after.
The same fixing schedule applies to any wall panel or decorative board.
Fixing the Panel You Just Cut
- Right fastener. Corrosion-resistant screws long enough to give the required penetration into the steel stud.
- Correct centres. Follow the system spacing along studs, closer at board edges. Most wall schedules sit in the 200–300 mm range, but the tested assembly wins.
- Do not over-drive. Seat the head flush without crushing the board around it.
- Stagger the joints between adjacent boards and between layers.
- Leave the movement gap at perimeter and movement joints. At 0.25% or less, expansion is small — not zero.
- Seal before closing the second face: head, perimeter and every penetration.
FAQ: Cutting Fiber Cement Board
What is the best tool to cut fiber cement board?
Up to about 6 mm, a utility knife and straight edge score and snap a clean line faster than any power tool, with almost no dust. Above that, a circular saw with a carbide-tipped fiber cement blade — or diamond for long runs — gives the cleanest straight cut. Curves and socket openings need a carbide grit jigsaw blade and hole saw. An angle grinder cuts anything but leaves the roughest edge and the most dust.
Can you score and snap fiber cement board?
Yes, to roughly 6 mm, sometimes 8 mm with experience. Score the face several times along a clamped straight edge with a sharp knife, place the board over a firm edge with the score line directly above it, then press down on the overhanging side to snap. Dress the edge with a sanding block. Above that the snap becomes unreliable and leaves a stepped edge.
Is it safe to cut fiber cement board indoors?
Not without controls. The board contains crystalline silica and dry cutting produces respirable dust. Indoors, use a tool with a fine-dust extractor or wet cutting to suppress dust at source, wear a respirator rated for respirable crystalline silica, protect eyes and hearing, and isolate the area. Clean up wet rather than dry sweeping.
Does cutting affect the fire rating?
No. The board is inorganic through its full thickness, so a cut edge exposes the same A1 non-combustible material as the face — there is no combustible core or paper facing to breach. What does affect performance is installation: reduced edge distance, joints that are not backed or staggered, and unsealed penetrations all weaken the assembled system.
Do cut edges need sealing?
In interior dry areas, dressing the edge flat is normally all that is needed. On exterior work, or where the panel is a visible finished face, cut edges and drilled openings should be sealed or coated as specified — the raw edge is the most absorbent part of the panel. On a factory-finished decorative board, the cut edge is the only unfinished surface, so touch it up first.
Related Reading
- How to Install Fiber Cement Board in 5 Steps — substrate, rail system, layout, fixing and jointing.
- Fiber Cement Board Thickness Guide: 6 mm to 25 mm — which thickness for which duty.
- Fire-Rated Partition Walls: A1 Non-Combustible Systems — why edge distance and sealing decide the rating.
- Cement Board vs Drywall vs Plywood: Substrate Showdown — the substrate decision before the blade.
- Crystal Board: Applications & Installation Methods — cutting, chamfering and drilling.
- Crystal Board: The Ultra-Lightweight Fiber Cement Board — the low-density board family.
On this material the cut is not preparation. It is the finish — and the reason a board wall can be closed, jointed and handed over without a plasterer ever arriving.