External facade cladding does three jobs at once: it is the building's weather skin, its primary fire-controlled envelope, and the visual face of the architecture. The cladding system a specifier chooses — panel, board, plank or tile — therefore sits at the intersection of structural, fire, moisture and aesthetic decisions. This guide walks through what a well-detailed fiber cement board rainscreen looks like on a real project, and where the common design and installation mistakes happen.
Why Fiber Cement Board Is the Default Wall Panel for Rainscreens
For a building envelope that must perform for decades with minimal maintenance, four properties make fiber cement board a reliable choice as an external wall panel:
- A1 non-combustible. Inorganic composition (cement, silica sand, reinforcing fibre) means the board does not burn, melt or drip and emits AQ1 (safe-class) smoke at 1000 °C — critical for high-rise facades, escape routes and schools.
- Moisture stability. Moisture movement is below 0.25%, so the board does not swell, rot or feed mould, even on coastal or rainy elevations.
- Lightweight handling. At roughly 0.85 g/cm³ density, a 6 mm sheet is light enough for a single installer to position — a real saving on multi-storey facades where panel weight drives the whole installation cycle.
- Format and finish flexibility. Supplied in standard 1220 × 2440 mm or 1220 × 3050 mm sheets and thicknesses from 4 to 25 mm, the same wall panel can be left as raw cement grey, factory-coated in a chosen RAL colour, or digitally printed with wood or marble patterns for a decorative board finish.
Compared with HPL (resin-based decorative board) or aluminium composite panels, fiber cement board trades a little surface drama for a substantial step up in reaction-to-fire class, long-term weather resistance and dimensional stability — a trade most specifiers are happy to make on a public-facing facade.
Design Decisions Before a Single Board Goes Up
A facade system is more than the face panel. Five design decisions shape the rest of the project:
- Reaction to fire class. Match the board and full system (board + cavity + insulation) to the local building code. For European projects, request the CE Declaration of Performance (DoP) and look for A1 or A2-s1,d0 classifications for the wall panel itself.
- Wind and impact load. Coastal, high-rise and ground-floor accessible facades need thicker boards (10–12 mm), tighter fixing centres, and sometimes additional impact-resistant sheathing behind the rainscreen.
- Moisture strategy. Decide whether the facade is a drained-and-ventilated rainscreen (the default for fiber cement) or a face-sealed barrier wall. The drained approach accepts that some water will get behind the cladding and gives it a path back out — essential for any wall panel that will see driving rain.
- Movement and joints. Fiber cement board is dimensionally stable, but the building behind it is not. Allow 6–10 mm gaps at panel perimeters and align these with floor slab, window and corner movement joints.
- Aesthetic finish. Raw grey, factory-coated, or digital-print decorative board finish (wood grain, marble, custom pattern) — pick the finish early because it changes the panel edge detail and the fixing specification.
Substrate: Stud, Rail, and the Wall Behind the Wall
The substrate for a fiber cement rainscreen is usually light-gauge galvanised steel studs or a timber frame, with a weather-resistive barrier (WRB) on the sheathing and a drained cavity of 20–40 mm behind the cladding. The cavity does two things: it equalises air pressure across the wall panel so wind-driven rain is not forced into the building, and it lets any trapped moisture drain down and out at the base of the wall.
For a typical 1220×2440 mm fiber cement board, vertical studs or rails are set at 400–600 mm centres. Tighter centres (300–400 mm) are used for thicker boards, premium finishes, and locations with high wind suction. Stainless steel or hot-dip galvanised fasteners are mandatory — standard zinc-plated screws will fail prematurely on an external facade.
Panel Thickness, Format, and Density
| Application | Typical Thickness | Density (g/cm³) | Notes |
|---|---|---|---|
| Residential rainscreen | 8 mm | 0.85–1.30 | Studs at 600 mm centres, standard fixings |
| Commercial low-rise | 8–10 mm | 1.20–1.40 | Increased impact and wind load |
| High-rise / coastal | 10–12 mm | 1.30–1.50 | Tighter fixing centres, stainless fixings |
| Premium architectural | 12 mm+ | 1.40–1.60 | Concealed fixing systems, large-format panels |
| Decorative printed finish | 8–10 mm | 0.85–1.30 | Digital-print or UV-coat decorative board on a low-density substrate |
For most external facade projects, our low-density flagship (0.85 g/cm³) at 8–10 mm is the sweet spot — light enough to speed installation, dense enough to hold a fixing, and stiff enough not to telegraph substrate imperfections across the wall panel face.
Joint Detailing: Where Facades Usually Fail
Most premature facade failures trace back to joint detailing. Three rules cover the majority of situations:
- Keep water out of the joint. A backer rod (closed-cell foam) plus a low-modulus façade sealant handles the weather side. On vertical joints, leave a 6–10 mm gap; on horizontal joints, slope the bottom edge outward or use a discrete drip profile so water cannot track back to the structure.
- Let water that does get in escape. Every horizontal joint should be drained — either through an open drip edge or a perforated venting strip. A sealed, undrained horizontal joint is the most common place moisture damage starts.
- Match joint width to expected movement. Calculate thermal and structural movement at the building's worst-case location (top of a south-facing wall, for example) and design the joint width to absorb it with a 30% safety margin.
Fixing Systems
Three fixing methods are common for external facade fiber cement board:
- Face-fixing with screws or rivets. The most common, fastest method. Use stainless or hot-dip galvanised fasteners with EPDM sealing washers. Fixings typically land on every stud or rail crossing, with edge distances of 25–50 mm and 12–25 mm from board corners.
- Concealed mechanical anchors. Undercut or keil anchors fitted to the back of the board, with rails hung off the structure. Used where the visible face must stay clean — premium architectural panels and high-end commercial facades.
- Clip / rail systems. A drained metal substructure with clip rails; boards hang on the rail and individual panels can be removed for maintenance. Adds cost but simplifies replacement.
For most projects, face-fixing with colour-matched screws is the rational choice. The fixings can be powder-coated to match the wall panel finish, leaving a clean visual line; the system is robust, easy to inspect, and easy to repair.
Step-by-Step Installation
The following sequence summarises a typical external facade installation. Always follow the project-specific drawings and the board manufacturer's fixing schedule, which take precedence over any general guide.
- Verify the substrate: studs or rails plumb and true, fixings complete, sheathing dry and WRB installed and lapped correctly.
- Install the cavity ventilation profiles at the base and top of the wall, and any continuous insulation battens.
- Mark out the panel layout on the wall, including joint locations, fixing points, and penetrations (windows, vents, services).
- Pre-cut boards to size using a circular saw with a dust-extraction diamond or carbide-tipped blade. Score-and-snap works for thinner (4–8 mm) boards.
- Lift and fix the first board, checking plumb and level before driving the first fastener. Use a temporary spacer to set the bottom edge clear of the slab or base profile.
- Fix the board through the pre-marked points, leaving the specified edge distance. Do not overdrive the screws — the EPDM washer should compress, not extrude.
- Insert backer rod into the joints and apply façade sealant. Tool the joint to a concave profile so water runs off rather than pooling.
- Continue panel by panel, checking alignment at every course. Step off and review the wall from a distance at the end of each course — small alignment errors compound quickly over a full facade.
- Finish penetrations with proprietary trims or purpose-made flashings — never rely on sealant alone around a window or service penetration.
The video below walks through a real installation on a representative wall panel, showing the same sequence in practice.
Finishes: Raw, Coated, or Decorative Board
How the fiber cement board is finished changes the wall panel's character without changing the underlying specification:
- Raw grey cement. The default low-cost finish. Weathers to a paler grey, gives a clean contemporary look, and is the easiest to repair. Acceptable for utilitarian facades, service areas and base courses.
- Factory-applied UV coating. An even, durable coloured or clear coat applied in controlled conditions. Faster site installation, consistent finish, and a longer repaint cycle.
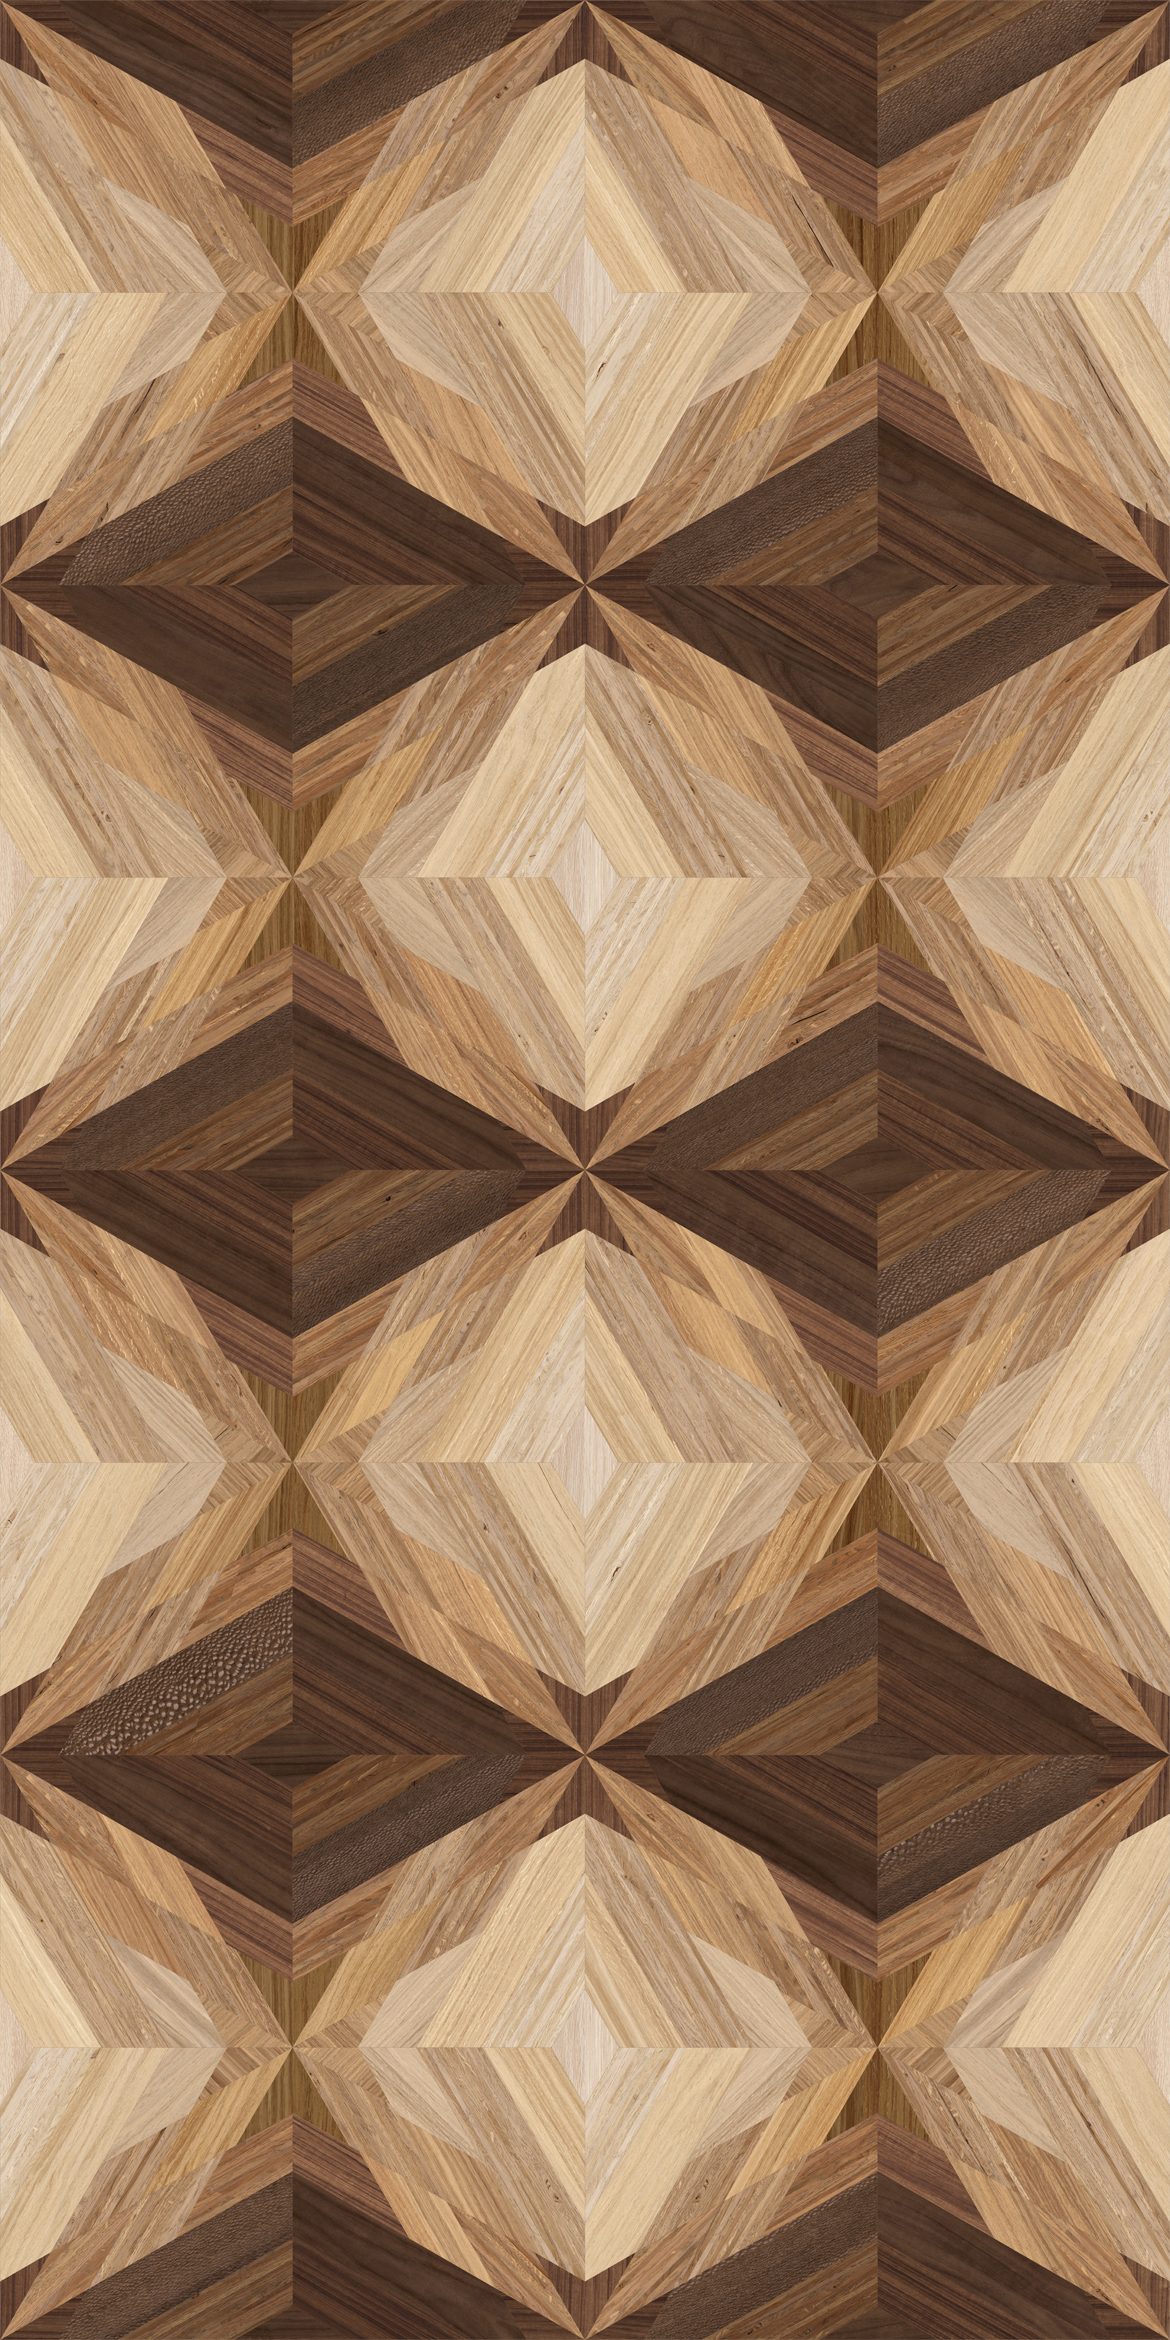
- Digital-print or textured decorative board. Wood grain, marble, concrete, custom pattern — all printed onto a non-combustible A1 substrate. Lets a decorative board deliver the look of timber or stone on a facade, with a fire class HPL cannot match.
If site painting is the chosen path, use a breathable exterior paint system designed for alkaline cementitious substrates, and apply it after the boards have equilibrated to site moisture — typically 2–4 weeks after installation. Avoid film-forming sealers that lock moisture in.
Common Mistakes and How to Avoid Them
- No cavity. Mounting the wall panel directly to the sheathing traps moisture. Always build a drained-and-ventilated cavity, even on small facades.
- Wrong fasteners. Standard zinc-plated screws on an external facade will fail in 3–5 years. Specify stainless or hot-dip galvanised fasteners with EPDM washers from the start.
- Sealed horizontal joints. A sealed, undrained horizontal joint holds water against the structure. Add a drip edge or a venting strip.
- Over-driving screws. Crushes the EPDM washer, splits the board edge, or pulls the head through the face. Set the depth on the drill, not by feel.
- No allowance for movement. Cladding, structure and substrate all move at different rates. Leave room at every perimeter, around every opening, and at every floor slab.
Acceptance Checklist
Before signing off on an external facade fiber cement board installation, walk the wall with this short list:
- All fasteners are the specified type, installed at the specified centres, with the correct edge distance.
- All joints are the specified width, with backer rod and sealant installed where required, and a continuous vent/drip detail at every horizontal course.
- WRB is intact behind the cladding — any penetrations made for services have been sealed with WRB-compatible tape or flashing.
- Penetrations (windows, vents, services) have purpose-made flashings, not sealant-only seals.
- The wall panel finish is consistent across the facade, with no visible colour or gloss variation between boards from different production batches.
- A representative panel can be removed and replaced without disturbing the surrounding boards — the rainscreen is genuinely maintainable.
When to Choose a Fiber Cement Rainscreen
- High-rise or public-facing facades needing A1 non-combustible wall panel performance
- Coastal, rainy or humid exposures where moisture stability matters
- Schools, hospitals and civic buildings with strict fire and air-quality requirements
- Architectural projects that need a decorative board finish (wood, marble, custom print) on a non-combustible substrate
- Lightweight construction where a low-density fiber cement board speeds installation
A good external facade is invisible in service — it keeps the weather out, the fire in check, and the building looking as it did on day one. A well-detailed fiber cement rainscreen delivers all three for decades.
Conclusion
External facade fiber cement board cladding is a mature, well-understood system. Most of the failures that show up after year five come from a small number of repeated mistakes — no cavity, wrong fasteners, sealed horizontal joints, ignored movement allowances. A specifier who nails those four details at design stage will rarely be called back to the building. The board itself will keep doing its job: A1 non-combustible, dimensionally stable, and light enough to keep the install cycle short. Pair it with the right finish — raw, factory-coated, or digital-print decorative board — and the facade performs and looks right for the next 30 years.